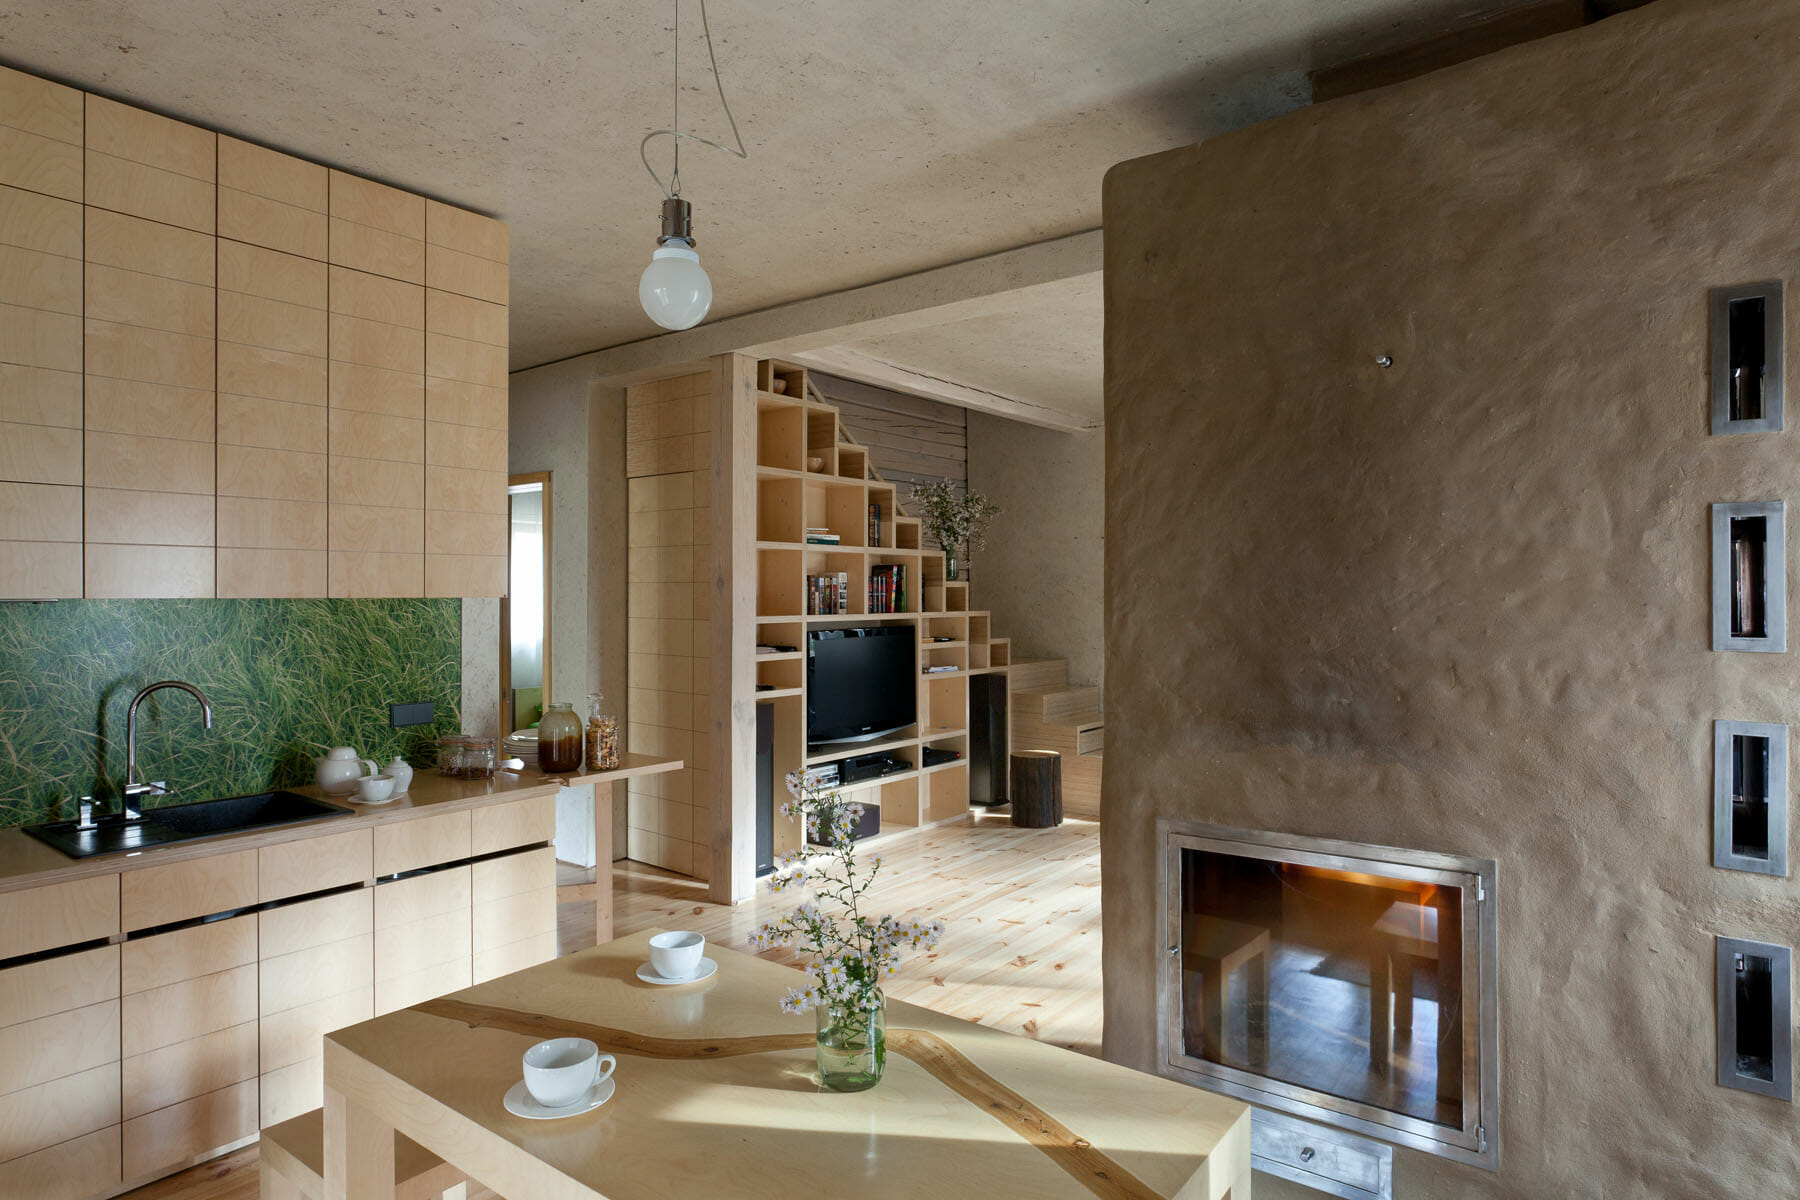
Floating shelves are a fantastic way to maximize space in small areas. These minimalist shelves not only look sleek but also provide functional storage without taking up much room. Whether you’re looking to display decorative items, organize books, or keep everyday essentials handy, a floating shelf is an excellent solution for small spaces. Building your own DIY floating shelf can be a satisfying project and allow you to create something that perfectly fits your needs. Here’s a step-by-step guide on how to build a DIY floating shelf for small spaces.
Materials You’ll Need:
- Wood: A piece of wood that suits the size of the shelf you want to create (oak, pine, or plywood are popular choices).
- Wall Brackets or Shelf Bracket Kit: You can either purchase a floating shelf bracket kit or create your own hidden brackets using wood or metal.
- Screws: To attach the brackets to the shelf and secure the shelf to the wall.
- Drill and Drill Bits: For making holes in the wood and the wall.
- Level: To ensure the shelf will sit straight on the wall.
- Measuring Tape: To measure out the correct placement for the shelf.
- Wood Finish or Paint: To finish your shelf to match your decor.
- Screwdriver: To drive in screws.
Step 1: Measure the Space and Plan the Shelf
Before beginning any DIY project, it’s essential to take accurate measurements. Start by measuring the space where you intend to install the shelf. Small spaces may require a compact shelf, so consider the depth and length that will best fit your needs without overcrowding the area. Use the measuring tape to determine these dimensions.
Next, plan the shelf’s design. A basic floating shelf consists of the shelf board, brackets (which are often hidden), and the wall mounting hardware. If you want something more customized, consider additional features like built-in lighting or multiple layers of shelves.
Step 2: Choose the Right Wood for Your Shelf
The type of wood you choose will determine both the strength and appearance of your shelf. For small spaces, lighter woods like pine or plywood are great options as they are relatively easy to work with and are more affordable. If you’re looking for a more upscale finish, oak or walnut will give a more refined look but may require a bit more effort to handle.
Cut the wood to the dimensions you have measured. If you’re unsure of your cutting skills, many hardware stores offer cutting services, so you can have the wood pre-cut to size.
Step 3: Prepare the Wall
Determine the exact placement of your shelf on the wall. Use the measuring tape to mark the level where the shelf will sit, ensuring it’s aligned with your aesthetic and functional needs. Use a level to draw a straight line along the wall for an even installation.
Next, use a stud finder to locate the studs in your wall. It’s crucial to anchor the shelf into studs for maximum support, especially if it will hold heavy items. Mark the stud locations with a pencil. If you can’t locate a stud, consider using wall anchors designed for heavier loads.
Step 4: Install the Brackets
There are two options for installing brackets: hidden brackets or traditional visible brackets. For a clean, modern floating shelf, hidden brackets are ideal.
If you’re using a hidden bracket system, install the metal brackets or wooden supports inside the wall. These brackets should slide into the back of the shelf to create the floating effect. Drill holes in the back of your shelf, align them with the brackets, and secure them with screws.
For traditional brackets, simply attach the brackets to the wall where you’ve marked the stud positions using screws and a drill. Ensure that the brackets are level before securing them completely.
Step 5: Attach the Shelf to the Wall
Once the brackets are in place, lift the shelf and slide it onto the bracket supports. If you’re using hidden brackets, this step is as simple as placing the shelf on the wall and ensuring it fits securely into place.
If you’re using traditional brackets, line the shelf up with the installed supports and screw it into place, ensuring the shelf is level.
Step 6: Finishing Touches
Once the shelf is securely attached, it’s time to add your personal touch. Sand the edges of the wood if necessary to avoid splinters and rough spots. Then, finish the shelf by either staining or painting it to match your decor. Allow it to dry fully before placing anything on it.
Step 7: Style the Shelf
Now that your floating shelf is installed and finished, it’s time to style it! Add small decorative items like potted plants, books, or framed photos. Keep in mind that with small spaces, less is often more. Keep your items minimal to maintain a clean, organized look.
Conclusion
Building a DIY floating shelf for small spaces is a simple yet rewarding project. It’s a great way to add storage and style to a room without taking up precious floor space. With some basic tools, the right materials, and a little patience, you can create a beautiful floating shelf that’s both functional and decorative. Whether you’re storing essentials or displaying your favorite trinkets, this DIY project will help you make the most of your limited space.
Refer to these sources for related topics:
https://fat-aus.com/
https://neuroinfancia.org/
https://reworkinglunch.org/
https://samplesalesites.com/
https://bionatrolcbdoil.net/
https://nagercoilhomechurch.com/
https://homesture.com/
https://mehryanatravel.net/
https://nacfnews.com/
https://malnadnews.com/
https://mexicobreakingnews.com/
https://fivestarhomeventures.com/
https://thetellynews.com/
https://northeasthome.info/
https://homeguidehq.com/
https://sekilaspoker.net/
https://thesafepad.co.uk/
https://mapsmentoring.co.uk/
https://hydroponichomemade.com/
https://famagusta-news.com/
https://mattramsey.org/
https://thcmarketingsettlementclaim.com/
https://cbdnaturallifestyles.com/
https://benedictquinn.co.uk/
https://veriqual.co.uk/
https://kelapasawitnews.com/
https://futurefringe.co.uk/
https://successlookslikeyou.co.uk/
https://swisshospitalityeducation.com/
https://csfcycleforlife.org/


